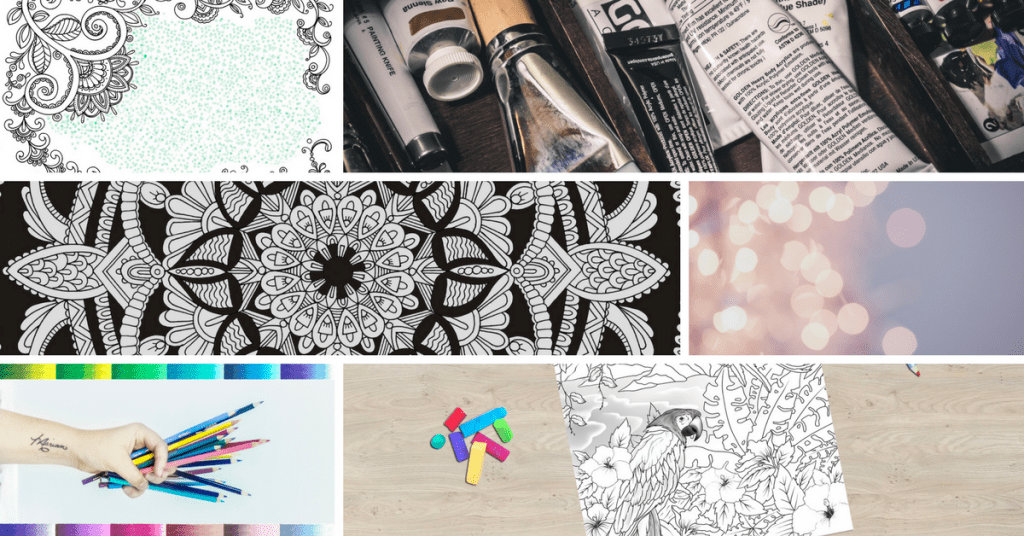
To color or not to color? That is the main question when it comes to backgrounds. On the one hand, coloring is no longer about staying within the lines and just filling them in. Even some plain-looking designs can be turned into real works of art in the hands of talented colorists who treat that white background space as a canvas, which allows them to rely totally on their imagination. On the other hand, however, lots of us feel intimidated by backgrounds and usually leave them blank as they are for fear of messing up the entire picture. But if you are ready to go out of your comfort zone and experiment, this article is going to be perfect for you. Learn how to extend your experience beyond the page to background coloring but first check out our RECENT POSTS on the best tips and tricks from expert colorists that will help you get started.
When reading this article you will see that there is a great variety of background coloring techniques you can try. They will definitely make your artworks stand out and will upgrade your coloring skills.
Before We Start
- Look at your coloring books and pages, find the ones that really excite you. If you are a fan of mandalas then you may not need to color the background at all. Mandala coloring pages are great even without it, while some complex patterns and doodles can work well with a backdrop.
- Remember that it is not necessary to color the entire page. You can add some small elements, like dots, flowers or other patterns when it feels right.
- We do not promote any brand in this article and all the links are included for informational purses only.
Now, are you ready to learn more about background coloring?
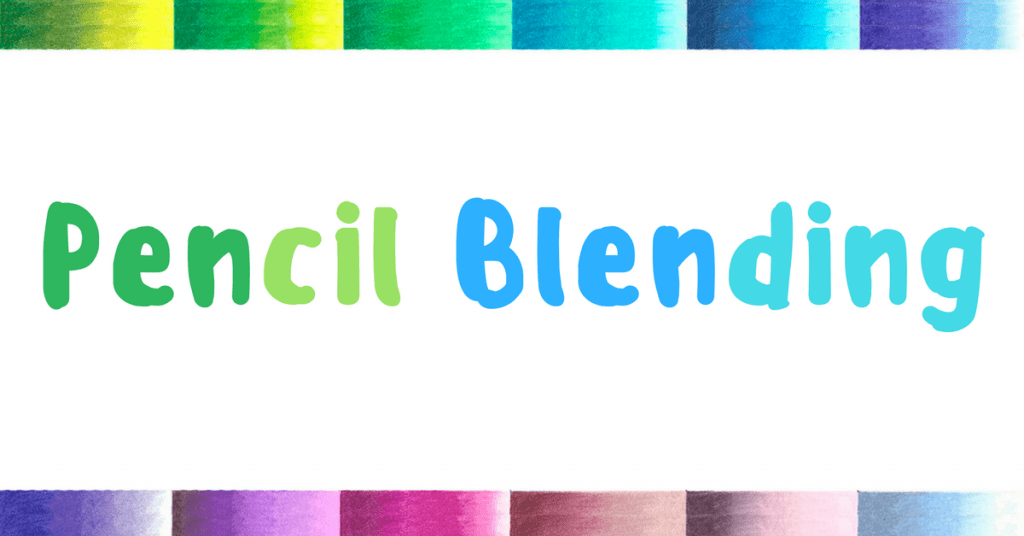
Blending is the process of merging different color shades together so that every shade smoothly flows into another one. This technique is perfect for background coloring and you can create a really soft tone, add some depth to your artwork. Beginner artists can try blending two or three shades of one color. You start with the lightest shade first and then take the darker shade, applying it from the inside and moving outwards from the lighter layer. Then add the darkest shade in the end. Some colorists use colorless blenders to easily layer and blend their colored pencils. They soften hard edges and form unique color blends with a wax-based pigment in it.
Extra Tip: Alternatively you can use a white pencil instead of colorless blenders and apply it over the top of your previously blended shades. This has the effect of reducing the density of deep colors.
Black background can add some drama to your adult coloring page. Many colorists say that it creates a “pop with color” effect. You can use any black medium that you prefer – markers, colored pencils, neon gel pens or even acrylic paint.
To create dense black backgrounds you will need a black pencil and two black pens (one with a fat brush shaped nib and the second with a thin brush shaped end). Add the first layer using the black pencil, keeping this layer even. Outline the black space with a thin pen to help you stick to the lines when you use the thick brush pen next. Fill in the rest with the big brush pen and wait for the ink to dry (about 15 minutes). Add one more layer and enjoy!
Extra Tip: By using a white gel pen, you can add some stars, dots, and other shapes to the black background, to create a starry sky or galaxy effect.
Stippling is another technique popular among colorists. Basically, you fill the background with colored dots to create an effect of varying shade. The closer you place the dots, the darker the area will seem and vice versa. A fine-tipped marker or a sharpened pencil is a perfect choice for this technique. Stippling may sound simple, but in fact, it requires control over your muscles because you are creating dots, not strokes. You should try and stay super concentrated to avoid larger marks.
Stippling is often confused with pointillism. However, stippling is a dot pattern of one solid color (usually black) while pointillism consists of several primary colored dots (basic colors on the color wheel) overlapping or set close to each other.
Extra Tip: You can also try to play with colored dots on the drawing instead of applying them to the background. Practice with fine liner pens if you want to have the precise dotting.
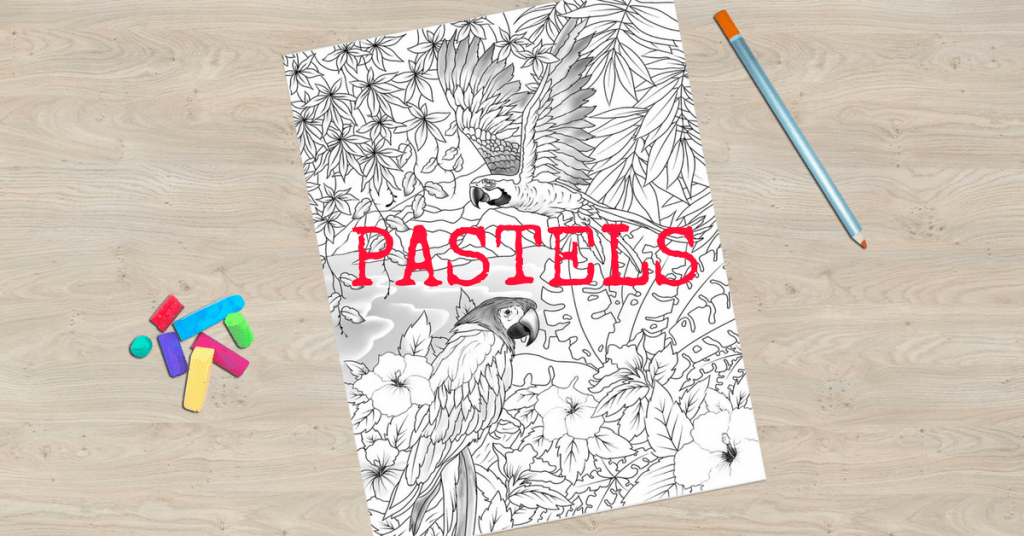
If you prefer a simpler technique, use chalk pastels to color the background. They are generally the pigments pressed into sticks with chalk as a binding agent. Chalk pastels produce brilliant intense colors and once you have them, no paintbrushes or solvents are needed anymore. There are four main types of pastels (soft, hard, oil pastels and pastel pencils) and the application may vary.
The pastels are better applied with light short strokes and then you can blend them with your fingers. Don’t forget to wash it off though, otherwise, the pastel on your fingertips can smudge into whatever you color next. Alternatively, scrape some powder off the pastel stick on the desired area.
Extra Tip: Use makeup cotton pads to keep fingers clean while blending the pastels.
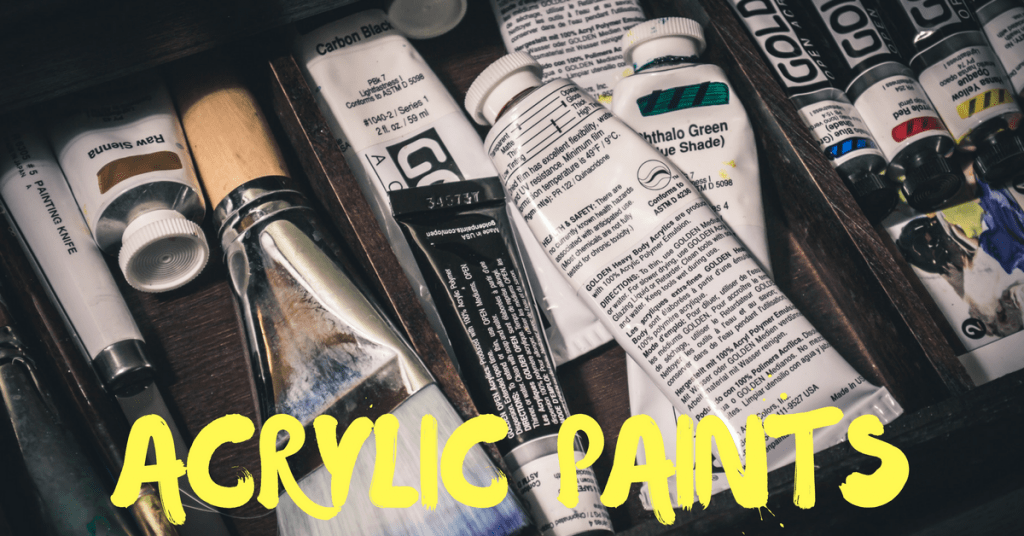
An incredible technique that can turn your background into a real piece of art. Mix the desired acrylic paint, pour a bit of water into this mixture and apply it with a sponge. Just dab and lift the sponge, then fill it with extra paint. Remember that acrylic paint dries out so you need to apply it quickly enough. When the first layer is dry, apply the next lighter or darker layer on top of it. Experiment with different colors to lighten or darken the background.
When buying acrylics you need to consider some key factors like quality, drying time and permanence. We recommend you to stick to student’s quality if you are just starting to experiment with the background coloring. Experienced colorists may try artists’ quality grade.
Extra Tip: Use a sponge with any desired structure to add interesting texture to the background. Different materials can also give various effects as well.
A trendy effect that you can see mostly on photos. The main subject in the center remains sharp while the background is unfocused. This dramatic effect is achieved with the help of blurred round circles of different colors. You can apply the same effect to your coloring pages and keep the background out-of-focus.
Create the stencil of multi-sized circles on a sheet of vellum. Then apply the white craft ink with a sponge (or ink pad) in a circular motion to the stencil. Keep on overlapping the circles until the background you are satisfied with the effect. Don’t forget to use circles of different sizes.
Extra Tip: Avoid using too much white ink, because the ink pad may get dirty and mess up the background colors.
Summing It Up
We hope that these background coloring tips and techniques inspired you to try something new with your next artwork. If you want to learn more, let us know in COMMENTS BELOW and we would be happy to highlight the most voted technique in one of the next articles.
What background coloring idea did you like the most?


